Permissions
kits.admin - Allows players to use the admin commands
Commands
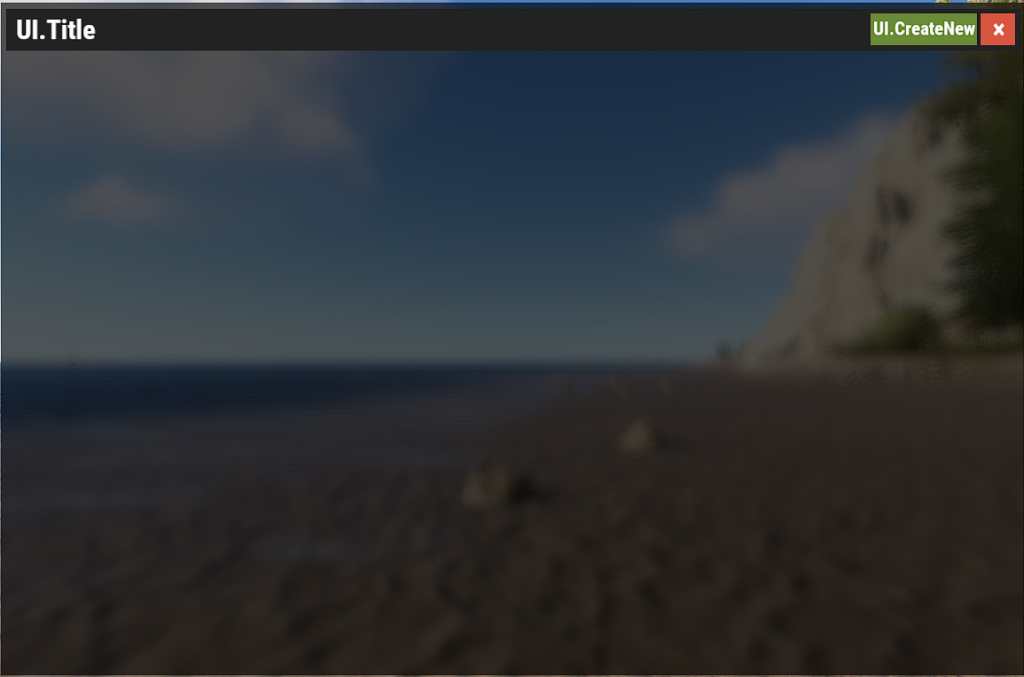
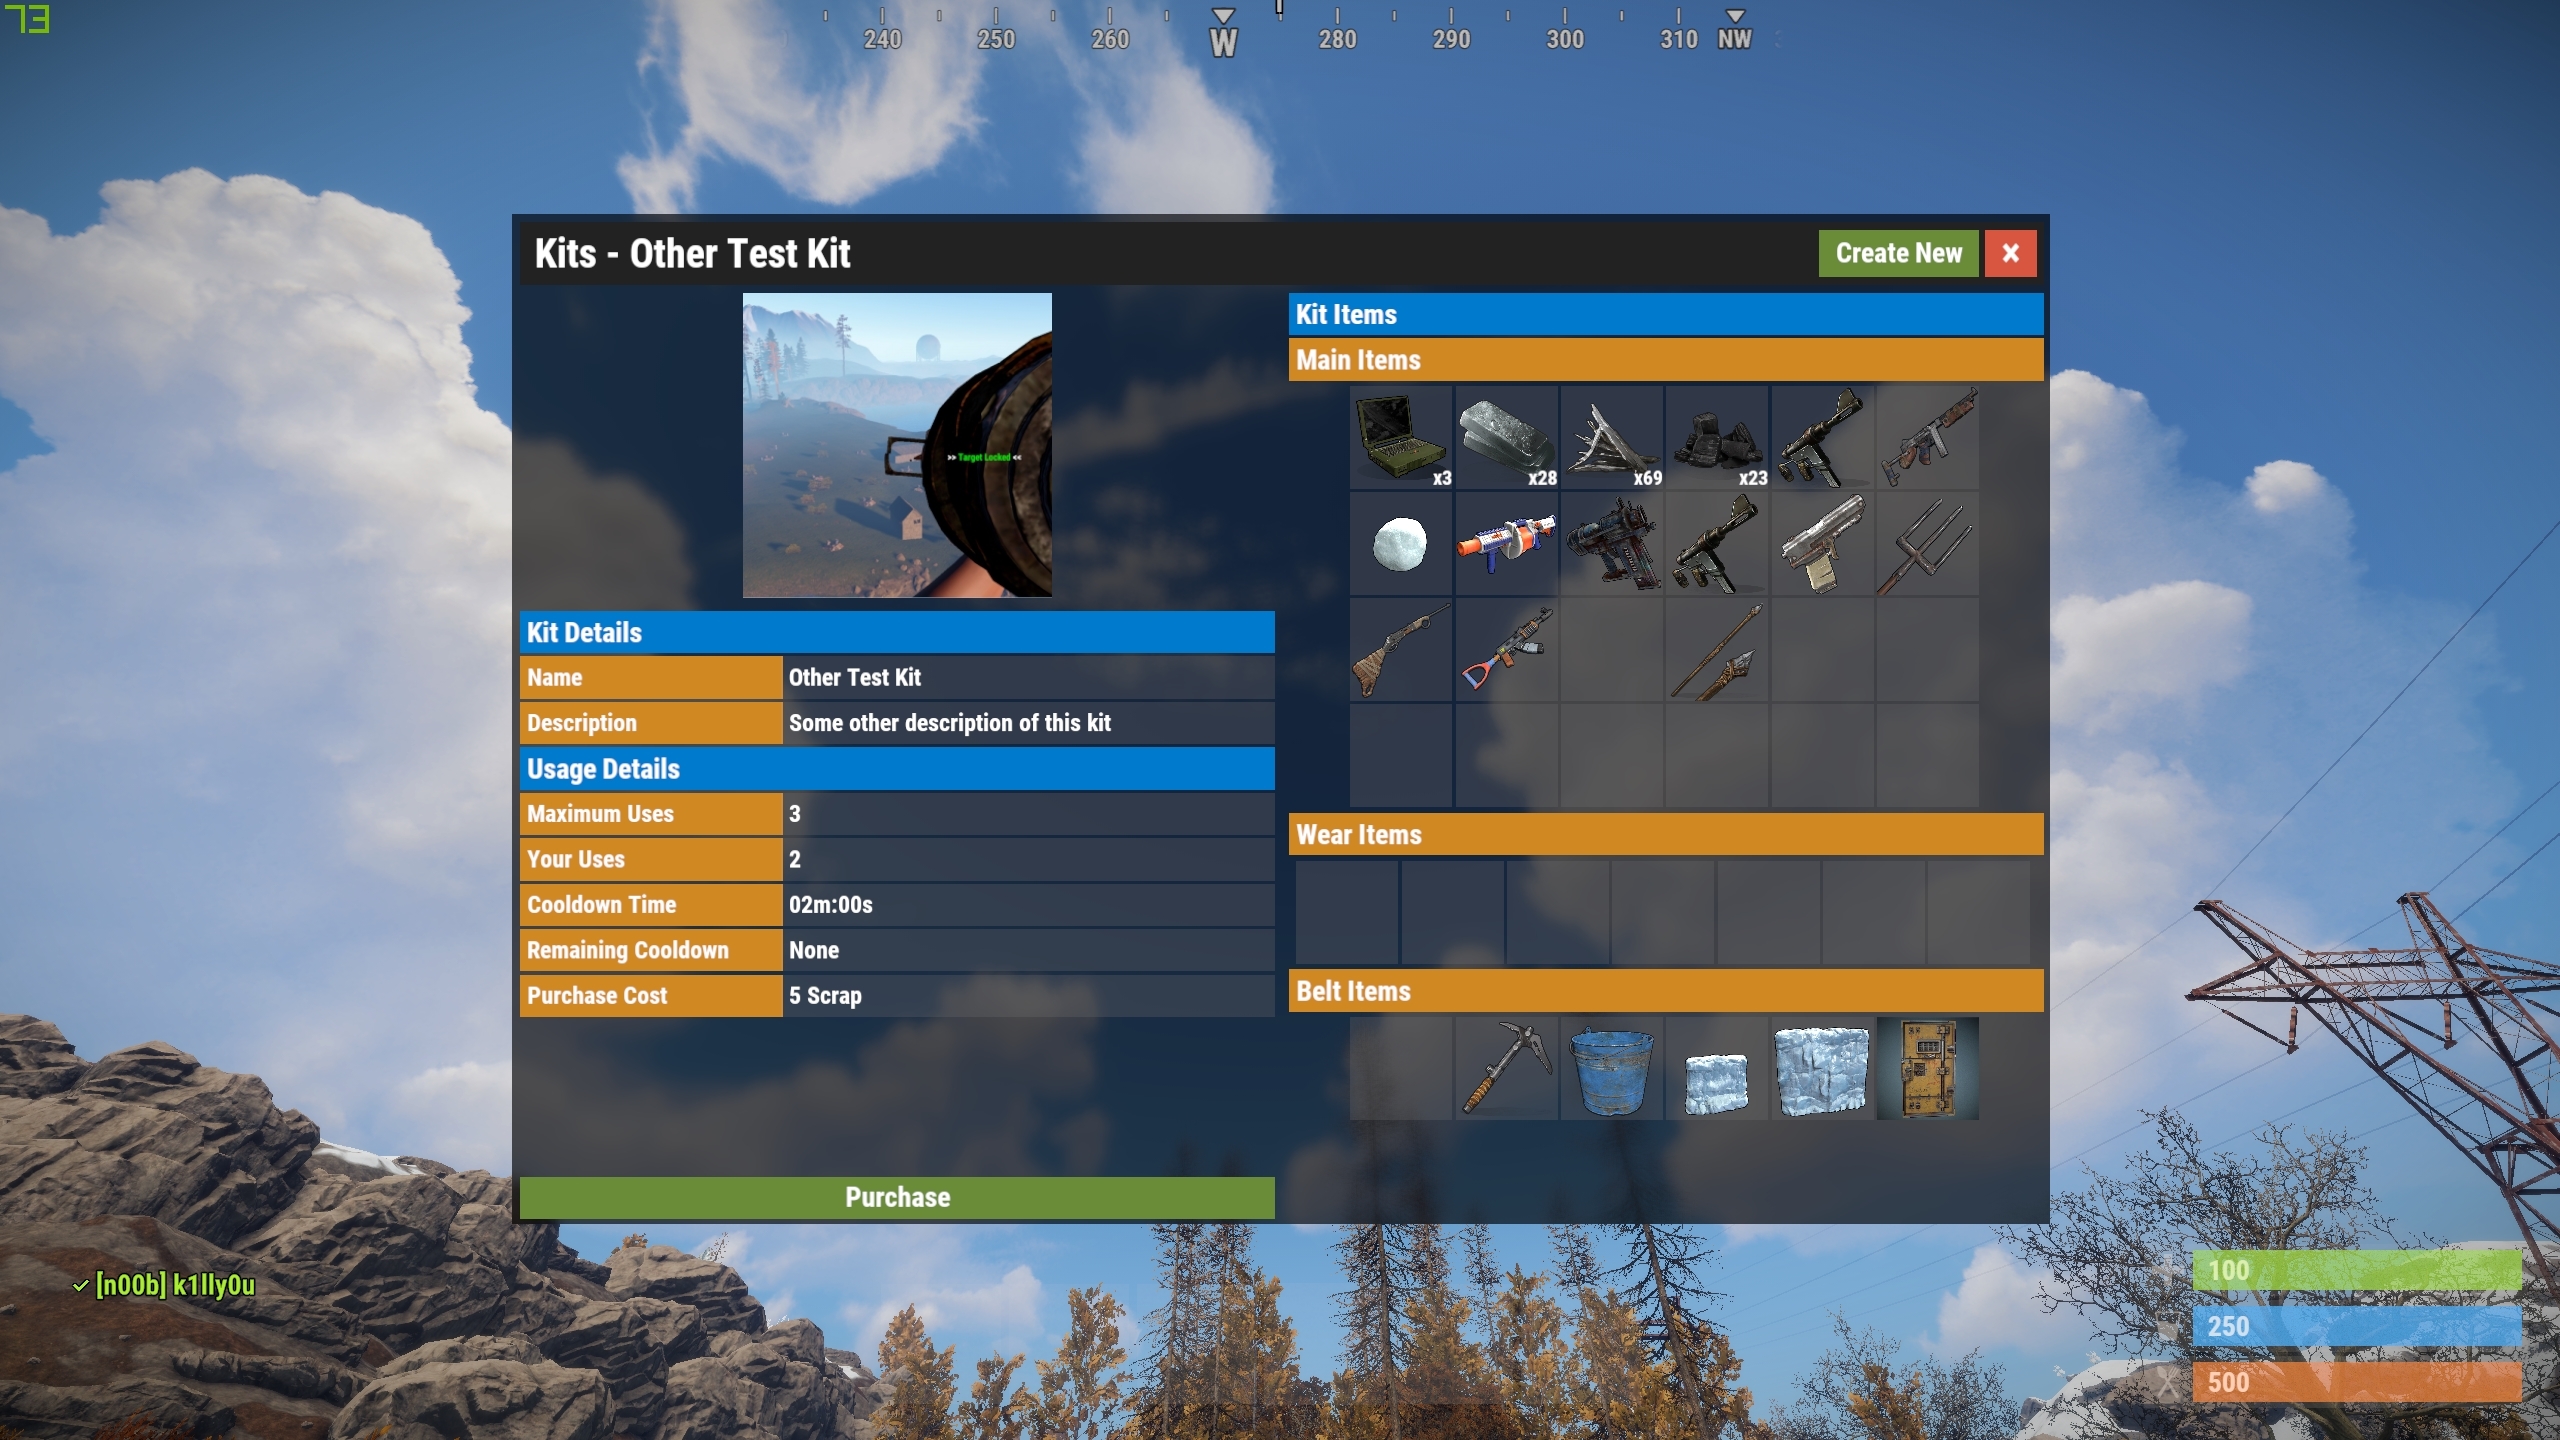
/kit - Opens the Kit menu
/kit <kitname> - Claim the specified kit
Admin Commands
/kit new - Start creating a new kit. Alternatively, admins and players with the admin command will see the "Create New" button in the Kit menu
/kit edit <kitname> - Edit an existing kit
/kit delete <kitname> - Delete the specified kit
/kit list - List all stored kits
/kit give <player name or id> <kitname> - Give the target player the specified kit
/kit givenpc <kitname> - Give the NPC you are looking at the specified kit. Also works on players
Config
{
"Currency used for purchase costs (Scrap, Economics, ServerRewards)": "Scrap",
"Log kits given": false,
"Wipe player data when the server is wiped": false,
"Show kits with permissions assigned to players without the permission": true,
"Autokits ordered by priority": [
"ExampleKitName",
"OtherKitName"
],
"Post wipe cooldowns (kit name | seconds)": {
"ExampleKitName": 3600,
"OtherKitName": 600
},
"Parameters used when pasting a building via CopyPaste": [
"deployables",
"true",
"inventories",
"true"
],
"UI Options": {
"Panel Color": {
"Hex": "#232323",
"Alpha": 1.0
},
"Disabled Color": {
"Hex": "#3e3e42",
"Alpha": 1.0
},
"Color 1": {
"Hex": "#007acc",
"Alpha": 1.0
},
"Color 2": {
"Hex": "#6a8b38",
"Alpha": 1.0
},
"Color 3": {
"Hex": "#d85540",
"Alpha": 1.0
},
"Color 4": {
"Hex": "#d08822",
"Alpha": 1.0
},
"Default kit image URL": "",
"View kit icon URL": ""
},
"Version": {
"Major": 4,
"Minor": 0,
"Patch": 0
}
}
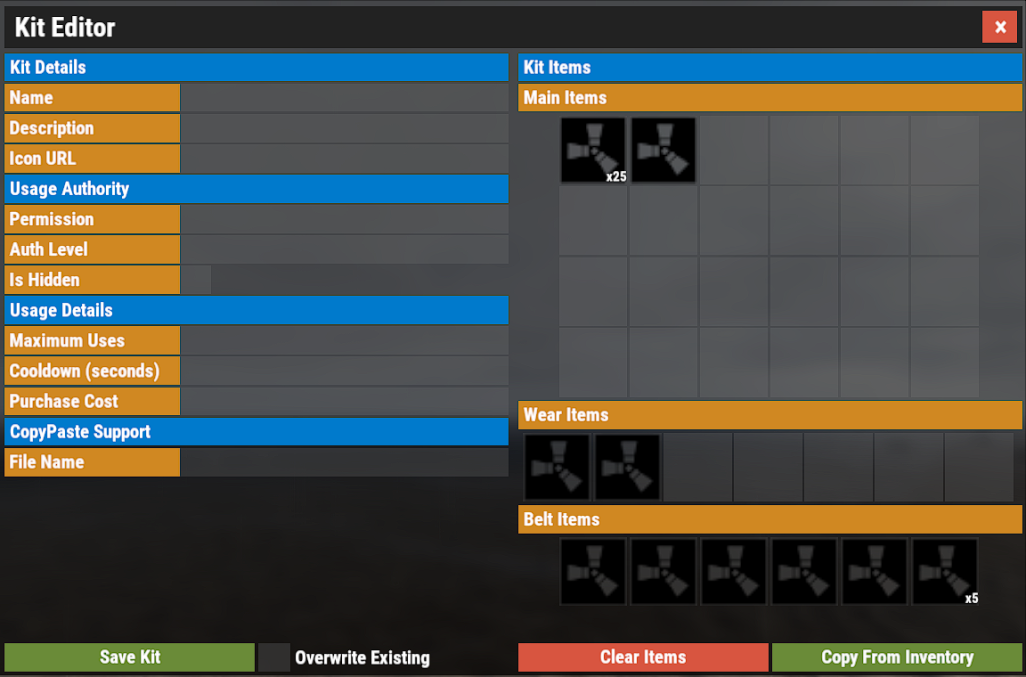
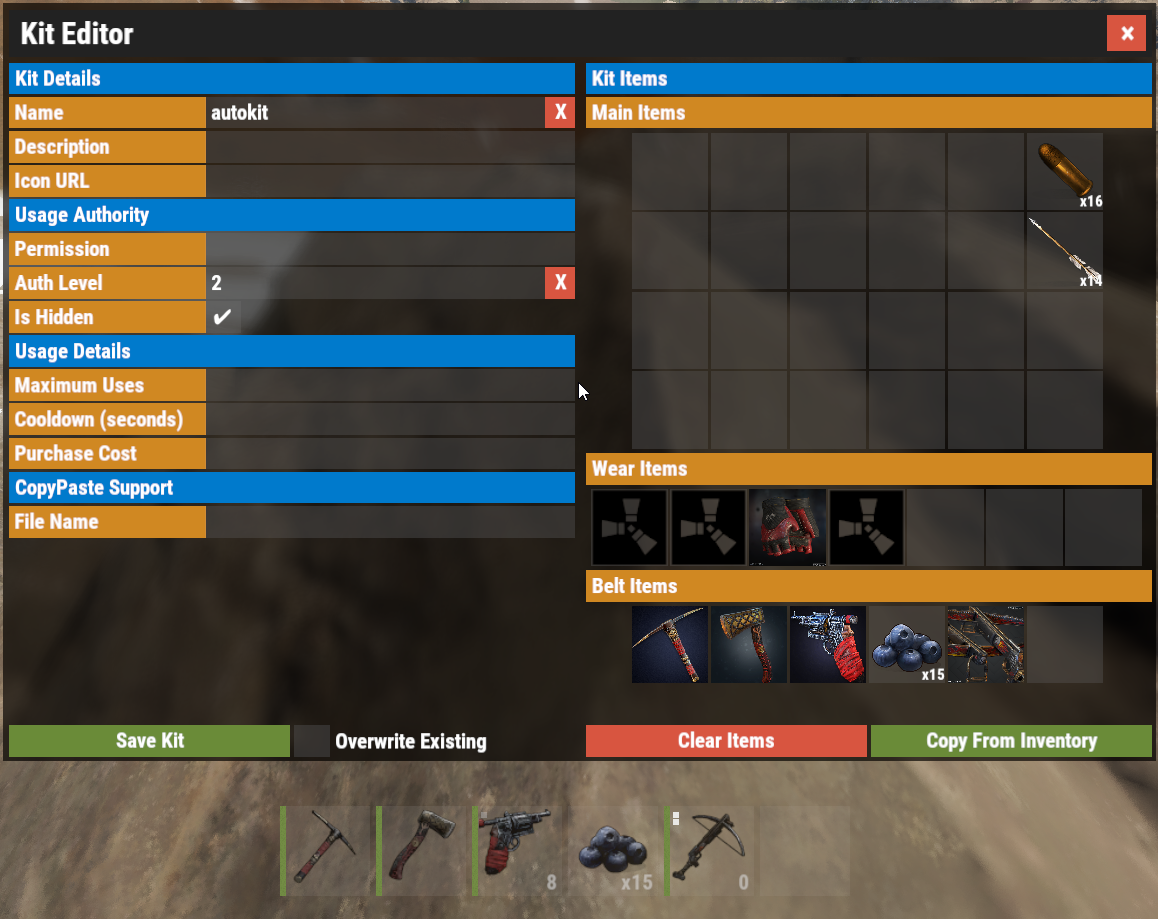
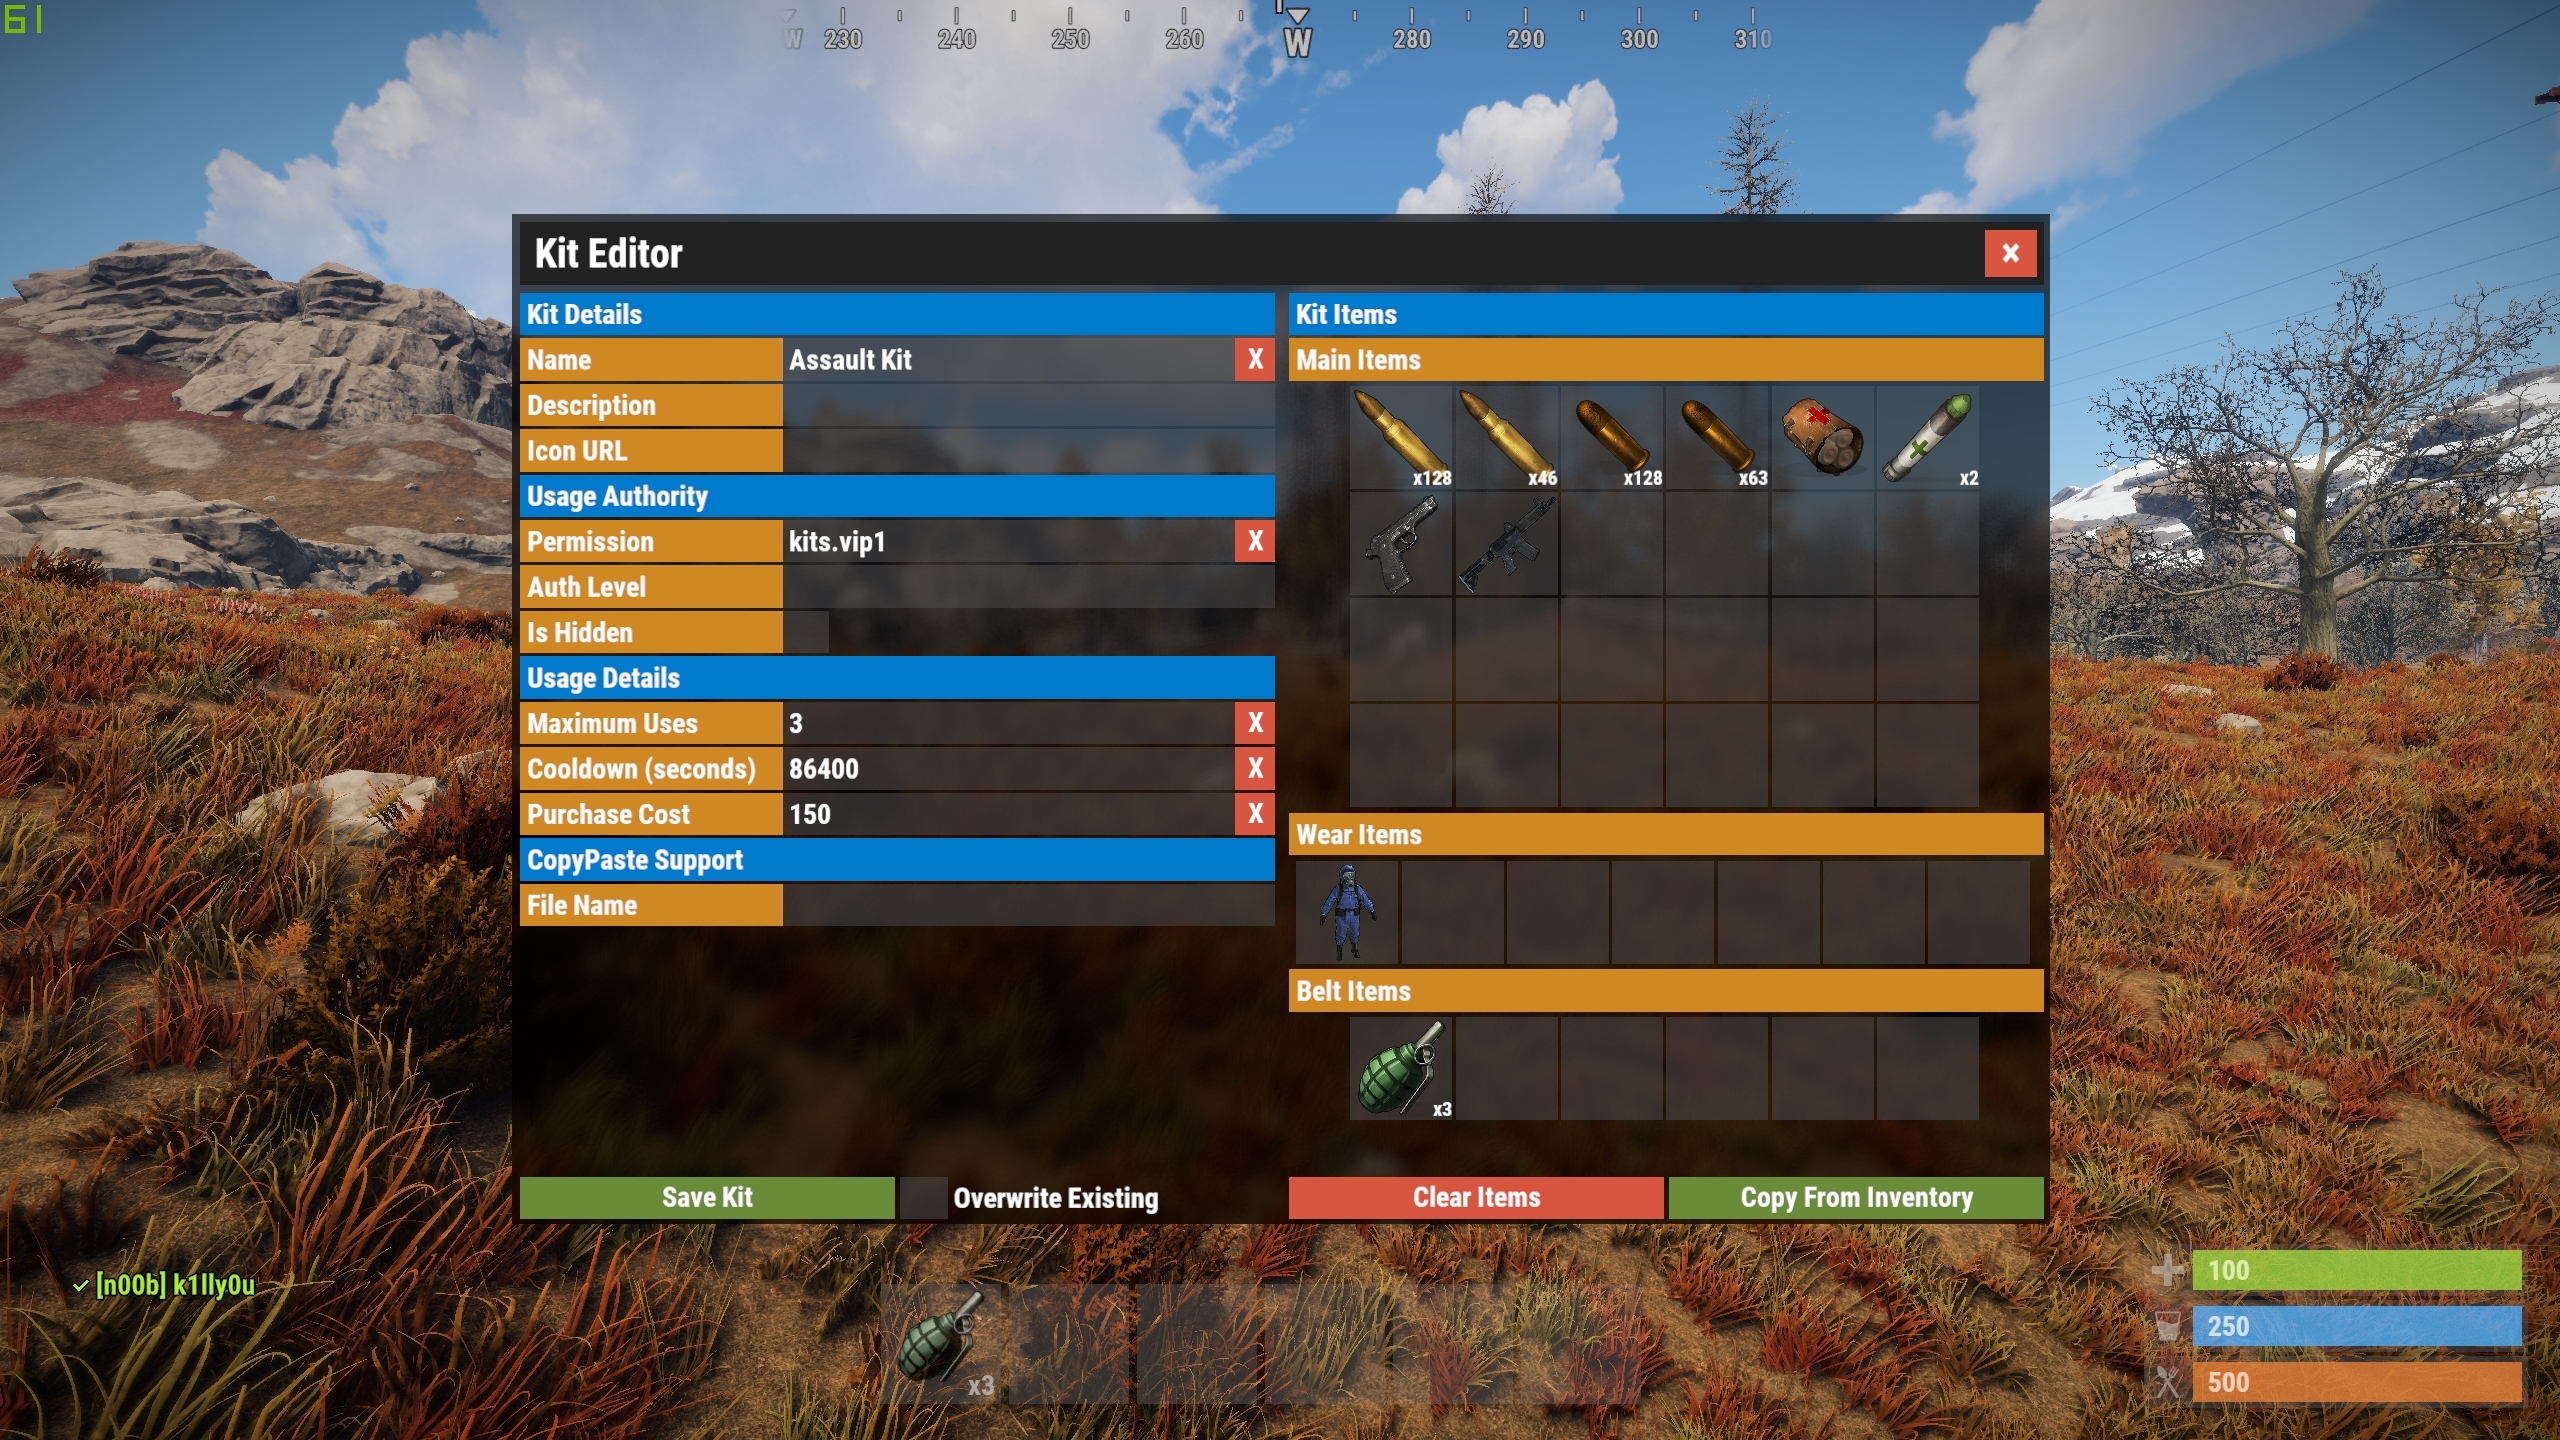
Creating a Kit
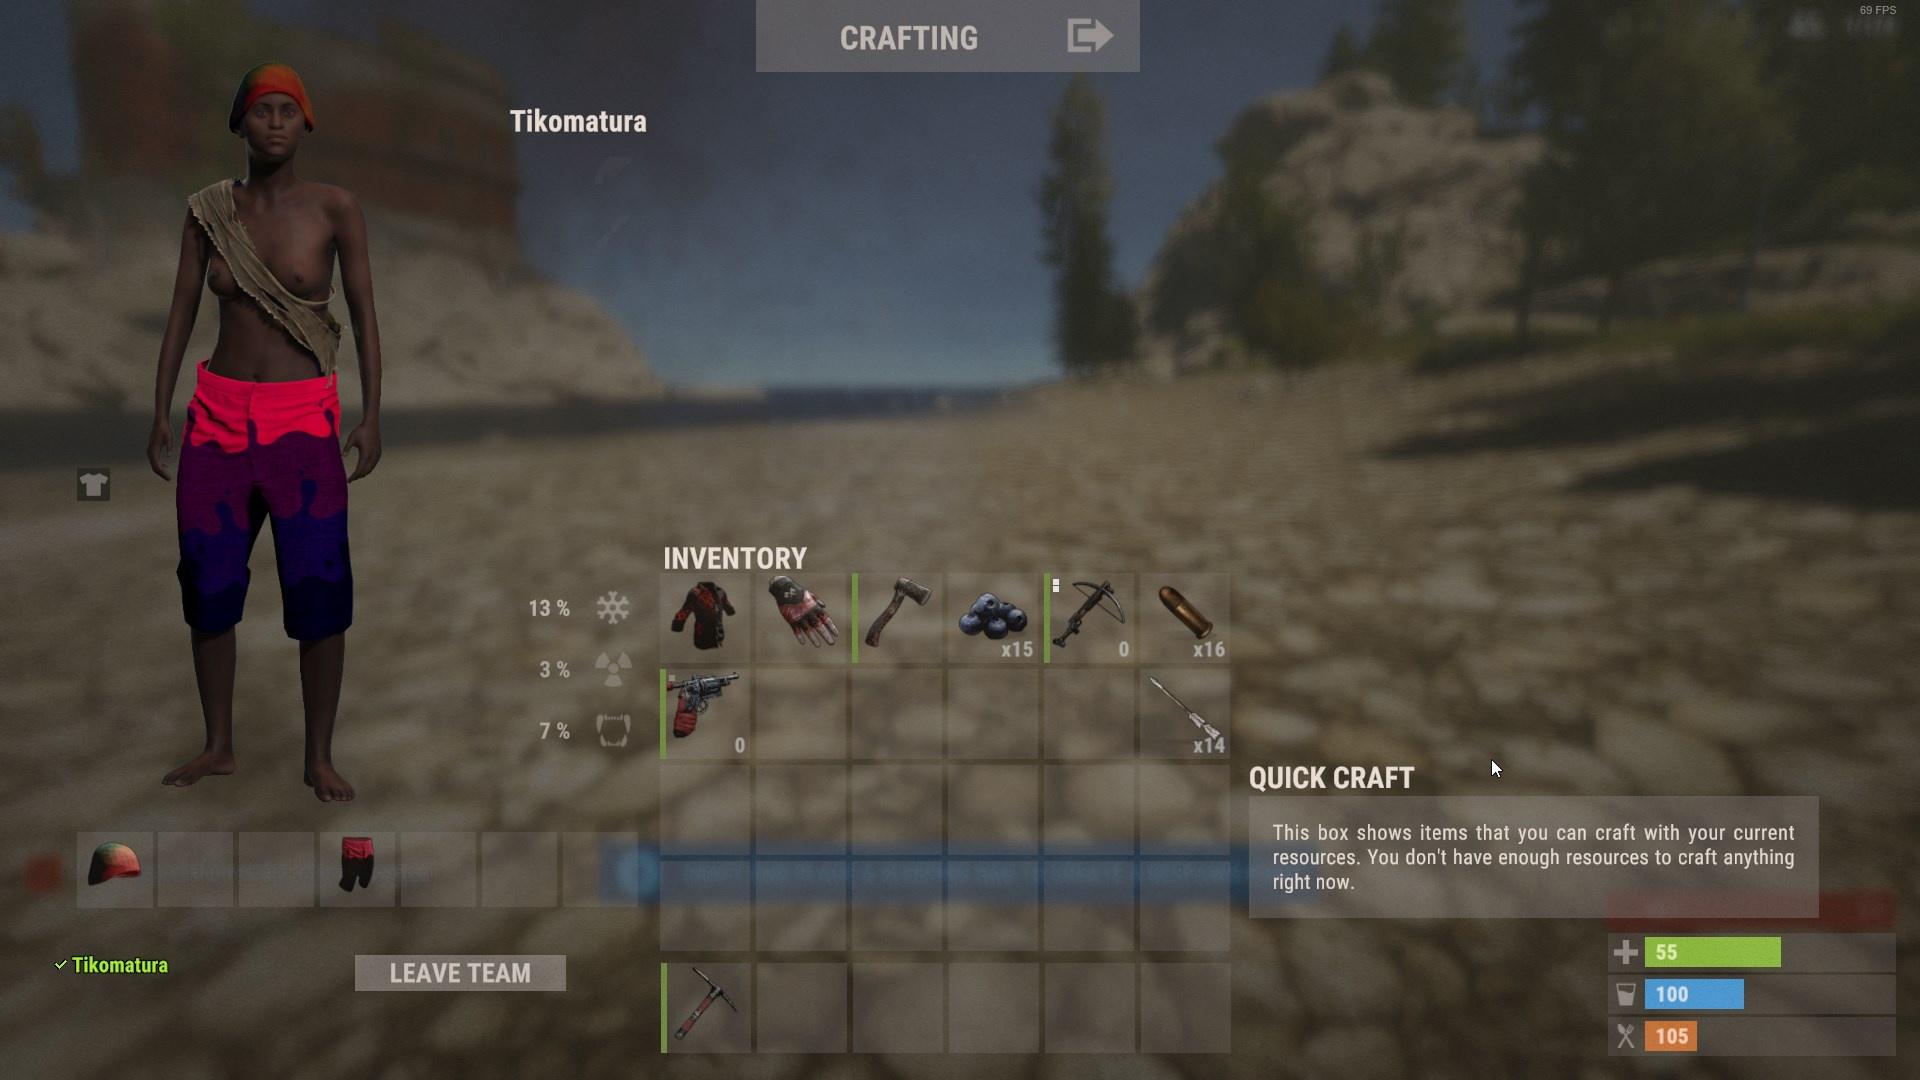
To create a kit first populate your inventory exactly how you want to kit to be given.
Either type '/kit add' or '/kit new' or open the menu and click 'Create Kit'. You will then be presented with the kit editor.
On the left hand side of the kit editor are various options for the kit, and on the right is the inventory.
The options on the left are using input fields, simply click on them and enter your desired details. They are as follows;
Name - The name of the kit
Description - A short description of the kit (optional)
Icon URL - A URL to a custom icon you want to use for the kit
Permission - A custom permission you can set for this kit. This restricts the kit to only player's with the specified permission. All permissions must be prefixed with "kits."
Auth Level - This restricts the kit to the given AuthLevel. 0 (or blank) means anyone can use it, 1 is moderators and owners, and 2 is owners only
Is Hidden - This toggle allows you to hide this kit from players
Maximum Uses - This limits the number of times a player can claim this kit
Cooldown (seconds) - Applies the cooldown when a player claims the kit, meaning the player will not be able to claim it again for the set amount of time
Purchase Cost - Lets you set a price for the kit that players must pay before they can claim it
CopyPaste/File Name - Used you want players to be able to place down a building from CopyPaste
When you have finished entering your details click the 'Save Kit' button on the bottom left.
Creating Auto-Kits
You can set up auto-kits that are given to players after they respawn. This is done via the config file.
In the config you will see this
"Autokits ordered by priority": [
"ExampleKitName",
"OtherKitName"
],
When a player respawn's the plugin will attempt to give the player each of the kits in this list, but they are still bound by the rules you have set up for the kit besides the Auth Level and the Cost.
As soon as 1 of the kits has been successfully given to the player it will stop iterating there.
If you want to have different kits for VIP player's, you can assign a permission to that kit and place it at the top of that list and only player's with that permission will be successful in receiving it
Post-Wipe Cooldowns
You can create custom post-wipe cooldown's that are applied once the server has been wiped. This prevent's player from claiming valuable kits for a set period of time after a server wipe.
In the config you will see this
"Post wipe cooldowns (kit name | seconds)": {
"ExampleKitName": 3600,
"OtherKitName": 600
},
Charging in-game currency for Kits
When you are editing a kit you can set a Cost price. Kit's that have a cost price assigned to them will charge the player that amount of currency to purchase. If the player does not have enough of that currency they can not claim the kit
Kit purchasing supports 3 currency types; Scrap, Server Rewards (RP) and Economics.
You can change which currency system you would like to use in the config
"Currency used for purchase costs (Scrap, Economics, ServerRewards)": "Scrap",Converting your Kits from pre-v4.x.x to v4.x.x
This new version of Kits has changed the data structure used for storing kits, however you can convert your old Kits data to the new system with a simple console command
The new Kits data files are stored in a different location (/oxide/data/Kits/) to the older version so you will not have to worry about accidentally overwriting them.
To convert your old data files to the new system, simple type "kits.convertolddata" in a console or rcon program.
This command will copy over the old kits and also the players usage data. The old style of Kits did not store item positions so converted kit items will be added sequentially
Giving kits to NPCs
I am not too sure what was going on with the NPC implementation in the old version of Kits, so I have just added a command "/kit givenpc <kitname>" so you can look at a NPC and give them the specified kit
Changing the colors of the UI
You can change the UI colors in the config, you can also change the default kit icon and magnifying glass icon if you wish to do so
"UI Options": {
"Panel Color": {
"Hex": "#232323",
"Alpha": 1.0
},
"Disabled Color": {
"Hex": "#3e3e42",
"Alpha": 1.0
},
"Color 1": {
"Hex": "#007acc",
"Alpha": 1.0
},
"Color 2": {
"Hex": "#6a8b38",
"Alpha": 1.0
},
"Color 3": {
"Hex": "#d85540",
"Alpha": 1.0
},
"Color 4": {
"Hex": "#d08822",
"Alpha": 1.0
},
"Default kit image URL": "",
"View kit icon URL": ""
},